
I was playing God of War Ragnarök during Christmas break and i really liked how the mystic gateway animation felt like.
During one of the play sessions the developer side of me woke up and was like..."hmm I'm wondering if they just reverse an RBD sim for this."
Like any respectable Technical artist out there, I was like..."let's try it out! I'm curious how this was made"
And I did, i did a fast prototype in an hour or two, proved that reversing a gravity RBD sim would be enough....and that was it...i moved to next thing that got my attention.
One month later i stumble upon the reference photo i took for this test and decided i could spend a bit more time on this, and maybe write a blog about my approach on it.
While nothing complicated I think the ability to break down tasks is something that everyone struggled or struggles with sometimes.
So this is for those people (hey past me!).
Two disclaimers though:
Gameplay Footage and References for the Mystic door.


Let's look at the images for a bit and break down what we can notice:
This gives us plenty of information already on how we can start, but lets look at the animation as well and see what our model needs to support in terms of movement.
Now what?
I need a rock asset, an archway made with it, a wooden door made of vertical planks, a fracture for the door and an RBD sim with gravity on.
Well this was easy and i cheated a bit, i downloaded a rock from megascan, while houdini can easily generate some i thought this is not the real focus here.

Here i created a spline that i mirrored and remeshed where i copy on points my rocks with some random N and random scale attributes to make it look less repetitive.


Since i knew i will need to fracture the wooden door i wanted to have separate planks created from the start, so i dont have issues with newly created faces.
For the plank creation I created a shape from the archway initial curves, bridge the missing gap and boolean it with boxes created as planks.

Fracturing the wood planks I went on the old approach of scaling down the mesh, voronoi fracture, and scaling it back.
That creates some wood like fragments, then i created the constraint manually.

Tearing down using a RBD Bullet solver, nothing fancy here, just an RBD Solver with gravity on.
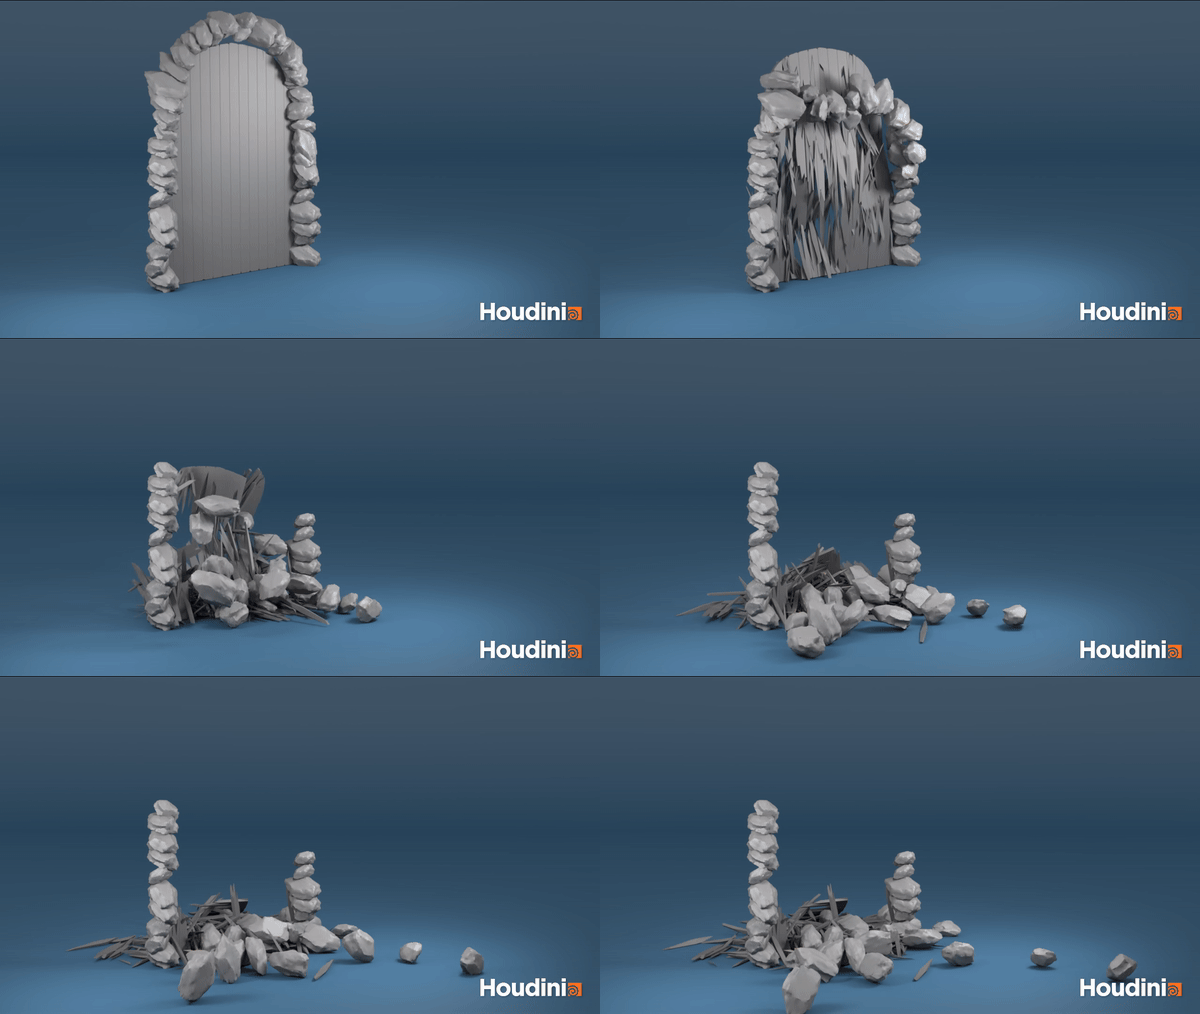
And now final step, reversing the simulation of the RBD solver.

This was a fun thing to tackle, especially since i didn't had the actual production stress or worrying about the final quality/polish.
No quick prototypes can actually represent the full asset used in games as having anything in a shipped title is more than just having a working animation, its about visual and gameplay polish, it needs to work with gameplay metrics, 3c, vfx and audio setups, it needs to work in a full environment and more importantly be iteration friendly.
I always like to find things that i could have done differently or improve on and for this mini project its no difference.
This is what i would have done differently or had a different approach if it was in a real production environment:
What are your thoughts on this approach?
/Andrei
P.S: Adding also the houdini network view.
P.P.S: Remember to have fun along the way.
